8. 运控仿真使用指南
8. 运控仿真使用指南
Section titled “8. 运控仿真使用指南”8.1 仿真说明
Section titled “8.1 仿真说明”我们为 A2 机器人提供了基于 mujoco 的仿真系统,旨在提供一个可以对 A2 机器人的运控和动作播放接口进行基本调用的试验场,用作实机运行前的一个基本验证,减低损坏机器人本体风险同时方便调试二次开发程序逻辑等。
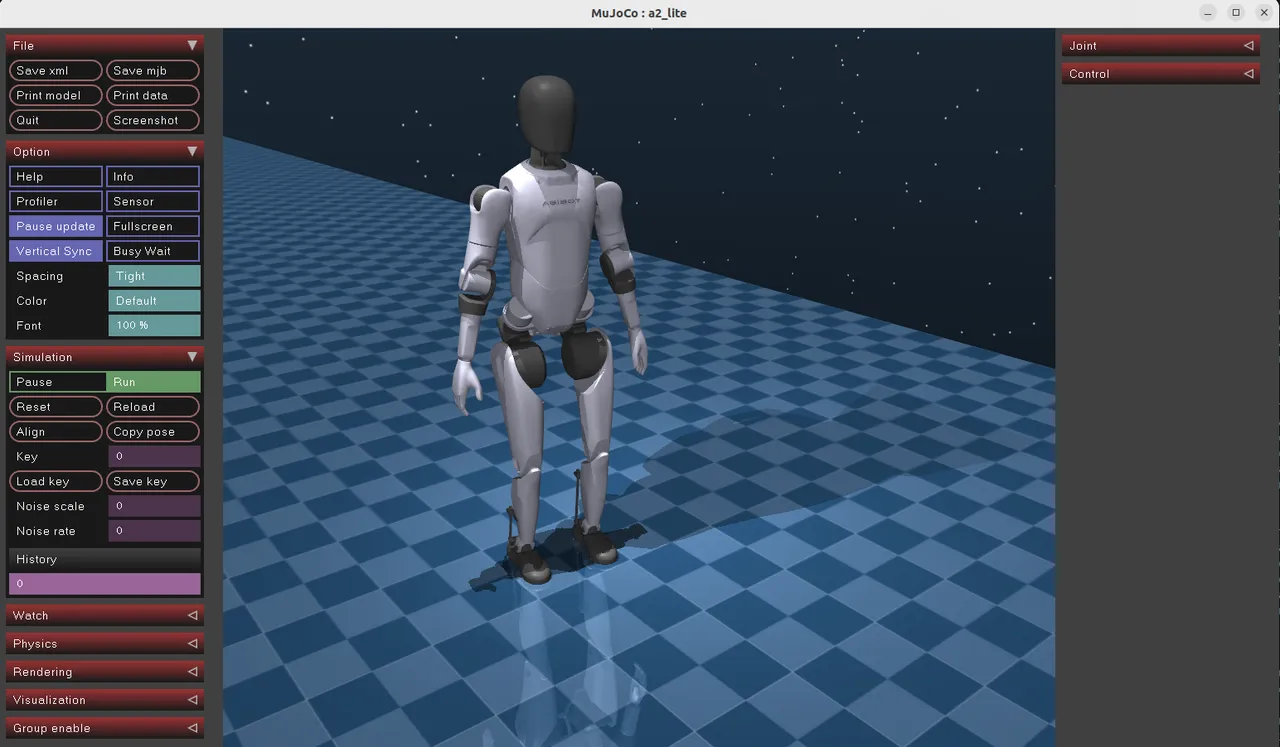
该系统运行了 mujoco_sim,motion_control 和 motion_player 组件,其中 mujoco_sim 作为底层仿真引擎模拟了机器人物理本体 + hal_ethercat,motion_control 则与 mujoco_sim 进行控制命令和状态的交互对仿真机器人进行控制,motion_player 则调用 motion_control 提供的上层接口进行动作播放,其中 motion_control 和 motion_player 组件与真机完全一致,该系统可以正常调用所有运动控制和动作播放模块的接口。
8.2 前置条件
Section titled “8.2 前置条件”该仿真系统以容器镜像的方式提供,内含各个组件的可执行文件和动作资源文件以及调用脚本,使用该仿真系统需要满足以下条件
-
装有 docker 的 x86_64 架构 Linux 系统
-
使用 X11 桌面系统
- 可以通过 echo $XDG_SESSION_TYPE 来检测,输出 x11 为期望现象
8.3 使用教程
Section titled “8.3 使用教程”8.3.1 拉取镜像
Section titled “8.3.1 拉取镜像”- 登录镜像仓库只读账号
docker login tongyong-public-cn-shanghai.cr.volces.com -u crrobot@aima-public-reader -p Aima123456- 拉取对应镜像
docker pull tongyong-public-cn-shanghai.cr.volces.com/aima-public/a2-simulator:v1.38.3.2 启动镜像
Section titled “8.3.2 启动镜像”-
允许 docker 访问显示器,用于配置 X Window System 的访问控制列表。执行 xhost + 会允许所有的主机连接到当前用户的 X 服务器,这样做会取消 X 服务器的访问控制,从而允许任何用户访问和操作 X 服务器。
Terminal window xhost + -
启动 docker 容器
Terminal window docker run -it \--name=a2-ultra-sim \--privileged \--net=host \--ipc=host \--pid=host \-e DISPLAY=$DISPLAY \-v /tmp/.X11-unix:/tmp/.X11-unix \-v /run/dbus/system_bus_socket:/run/dbus/system_bus_socket:ro \-d tongyong-public-cn-shanghai.cr.volces.com/aima-public/a2-simulator:v1.3如果发现使用 NVIDIA 显卡的机器使用上述命令开启容器后仿真界面运行卡顿,可以尝试使用以下命令开启容器:
Terminal window docker run -it \--name=a2-ultra-sim \--gpus all \--privileged \--net=host \--ipc=host \--pid=host \-e DISPLAY=$DISPLAY \-e NVIDIA_VISIBLE_DEVICES=all \-e NVIDIA_DRIVER_CAPABILITIES=all \-v /tmp/.X11-unix:/tmp/.X11-unix \-v /run/dbus/system_bus_socket:/run/dbus/system_bus_socket:ro \-d tongyong-public-cn-shanghai.cr.volces.com/aima-public/a2-simulator:v1.3
-
进入容器
Terminal window docker start a2-ultra-sim && docker exec -it a2-ultra-sim /bin/bash
8.3.3 启动仿真、运控、动作播放模块
Section titled “8.3.3 启动仿真、运控、动作播放模块”-
进入镜像,运行下面的指令,启动仿真
Terminal window docker start a2-ultra-sim && docker exec -it a2-ultra-sim /bin/bashcd /home/agi/a2_simulation/mujoco_sim_ultra_1.3/bin./start_a2_t2d0_ultra.sh -
在一个新窗口中连接到容器,启动运动控制程序
Terminal window docker start a2-ultra-sim && docker exec -it a2-ultra-sim /bin/bashcd /home/agi/a2_simulation/motion_control_ultra_1.3.26/scripts/motion_control./start_motion_control.sh -
在又一个新窗口中连接到容器,启动动作播放程序
Terminal window docker start a2-ultra-sim && docker exec -it a2-ultra-sim /bin/bashcd /home/agi/a2_simulation/motion_player_ultra_1.3.26/scripts/motion_player./start_motion_player.sh
8.3.4 控制机器人行走
Section titled “8.3.4 控制机器人行走”这里以机器人行走为例,讲解一个最基本的运控接口调用逻辑,其余接口可参考运动控制部分的接口文档配合示例脚本进行调用。
-
开启一个新窗口,进入容器内切换运控 Action 至位控站立模式(RL_JOINT_DEFAULT)
Terminal window docker start a2-ultra-sim && docker exec -it a2-ultra-sim /bin/bashcd /home/agi/a2_simulation/tools-ultra/mc./SetAction.py # 选 RL_JOINT_DEFAULT 对应的数字 -
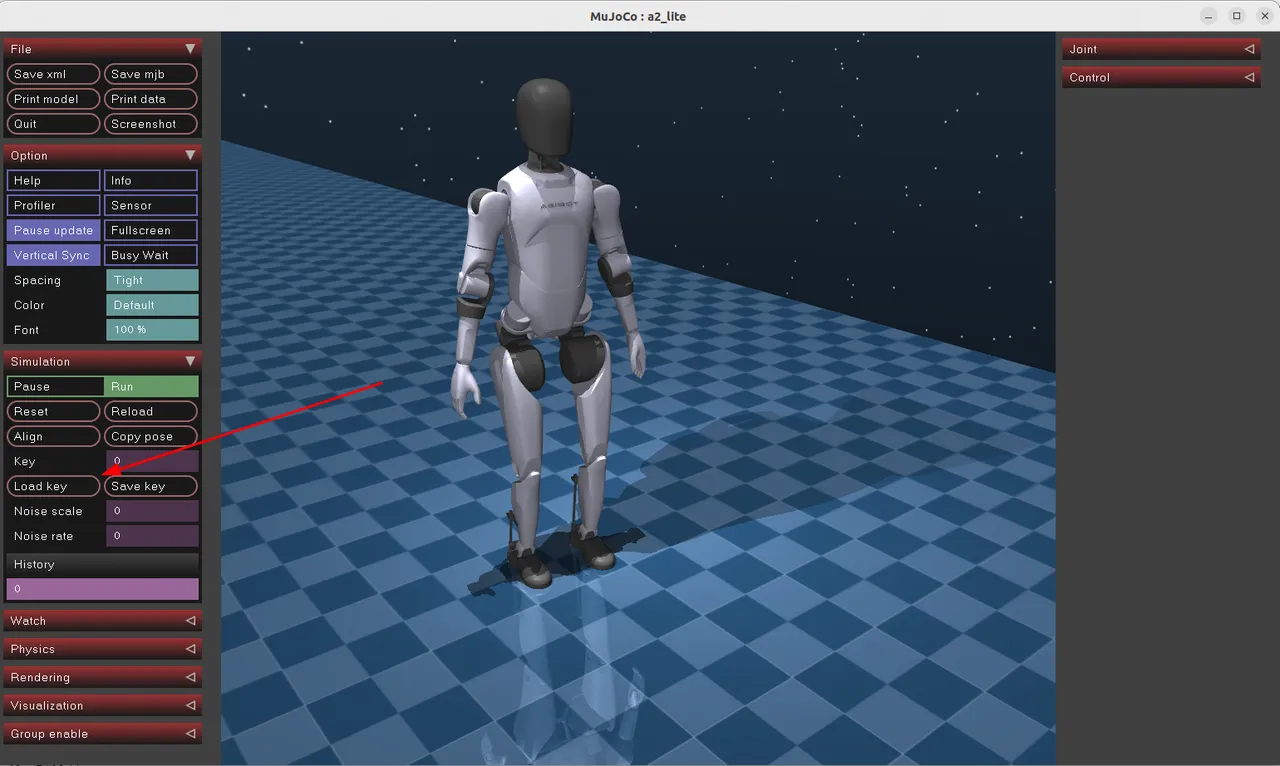
点击 mujoco_sim 界面 Load-Key 按钮让机器人站稳
-
继续切换运控 Action 到强化行走模式(RL_LOCOMOTION_DEFAULT)
Terminal window ./SetAction.py # 选 RL_LOCOMOTION_DEFAULT 对应的数字 -
调用行走示例脚本
Terminal window source /home/agi/a2_simulation/ros2_plugin_proto_x86_64/share/ros2_plugin_proto/local_setup.bash./walk.py
8.3.5 控制机器人进行动作播放
Section titled “8.3.5 控制机器人进行动作播放”-
切换运控状态到强化行走上肢伺服模式(RL_LOCOMOTION_ARM_EXT_JOINT_SERVO)
Terminal window cd /home/agi/a2_simulation/tools-ultra/mc./SetAction.py # 选 RL_LOCOMOTION_ARM_EXT_JOINT_SERVO 对应的数字 -
调用 SendMotionCommand 接口进行动作调用
Terminal window cd ../motion_player./send_motion_id.sh /agibot/data/resources/default/motion/演讲10s/演讲10s.mcap